Now firstly let me preface this post by saying that I’m not throwing shade on Kim Kardashian in any way shape or form. In fact, I may or may not have watched every single episode of Keeping Up With the Kardashians and all the spin-offs relating to it… more than once. The internet is practically brimming with ‘Contouring the Kim K Way’ tutorials and whilst you can’t deny that it’s a technique that works for her, for those of us not batting away 123 paparazzi’s and their flashbulbs for every waking hour sometimes the effect can be a little heavy for everyday. That’s not to say that I don’t love a good contour/highlight job; I just like the rock the shading in a more subtle way. Here are my top tips for the everyday way to fake those cheekbones (selfie taking afterwards optional)…
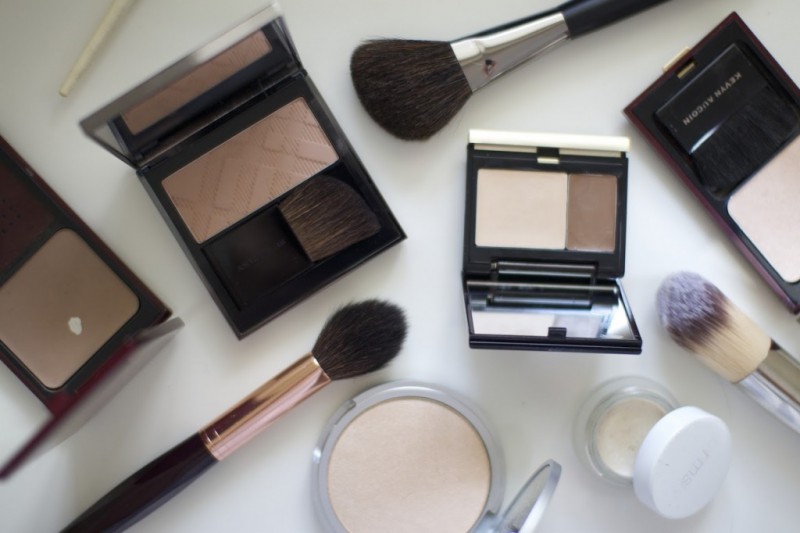
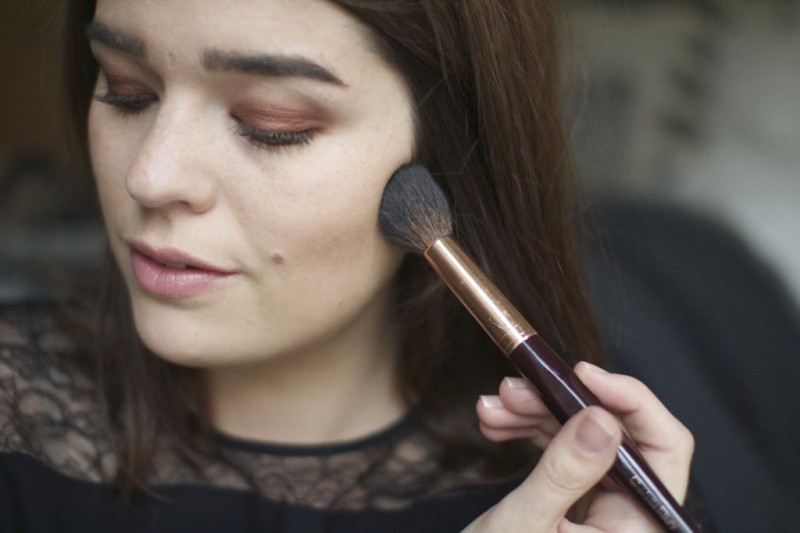
Pick Your Weapon. Stripes and sponges aside, deciding what product, undertone and texture will be best for you is probably the most difficult piece of this puzzle. Most guides say that for contour go for a few shades darker than your natural skin tone and the same in reverse for highlight. If in doubt – head to the professionals on counter. Personally I like to use powders, they’re just a bit more easier to control where the pigment is going and they stay in place a little better. Most of the time I reach for the Kevyn Aucoin The Sculpting Powder in Medium, though if I want something a little more subtle I go for Burberry’s Light Glow in Earthy Blush No.07. Brush-wise I am rather fond of the Charlotte Tilbury Powder & Sculpt Brush which scoops in right under the cheekbones and doubles up as a good applicator for highlight too.
One or the Other. Sometimes I find that just by either contouring or highlighting the other one already looks like it’s done. Is that weird? If in doubt go for a dewy foundation with a contour – your highlight is already sorted. Plus, you don’t get more subtle than that.
The Do-It-All Blush. Contour newbies or just generally those who are in a rush in the mornings listen up, for I have the answer to quickie contoured and coloured cheeks. I’ve dubbed it the ‘do-it-all’ blush and though there aren’t many out there in the market, I’ll let you in on my favourites. The colour you’re looking for is a dusky rose with a brown undertone which when applied to the apples in an ‘up and out’ fashion, lifts and illuminates looking like you’ve already done the whole blush and contour thing. My picks are the NARS Blush in Doucer and the Tarte Amazonian Clay 12 Hour Blush in Exposed.
The Foundation Brush Clean-Up. Of course if ever things start to look too stripy there’s the option to go back in with your foundation brush to dim things down a little. In fact, this is a step that I do most days as it just helps everything to look a bit more blended. A contour is one thing, but an overzealous application of a contour? That’s not something a filter can amend…


Comments